
The worst thing you could do after successfully deploying to a new environment is to accidentally delete critical infrastructure. Unfortunately, that happened to one Google Cloud customer when their private cloud subscription was accidentally deleted, resulting in nearly two weeks of downtime. This isn’t an isolated problem either: Microsoft Azure had a similar problem when a typo inadvertently deleted an entire SQL Server instance rather than a specific database.
Accidental deletions, misconfigurations, and “fat-fingering” are unfortunate truths in the software industry, but there are ways to prevent them. In this blog, we’ll tell you how to find critical resources that are at risk of being accidentally deleted, and how to mitigate this risk. Specifically, we’ll focus on the primary way customer traffic reaches your services: through load balancers.
What is the deletion protection flag?
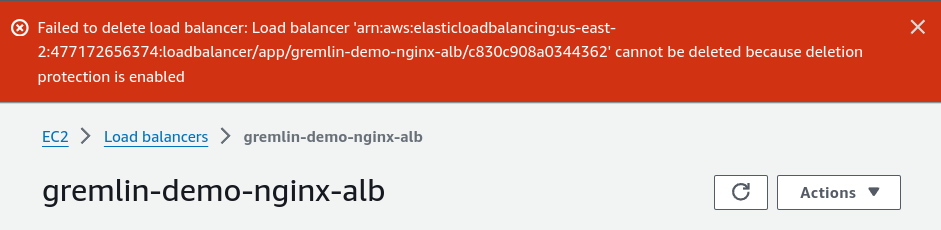
AWS Elastic Load Balancers (ELBs) have an attribute called deletion protection. This flag serves a single purpose: when enabled, it makes it impossible to delete an ELB until you explicitly disable it. This is enforced no matter how you try to delete the ELB, whether through the AWS Console, the AWS SDK, or an infrastructure-as-code (IaC) tool like CloudFormation or Terraform. When you try to delete a protected ELB, AWS displays this error message at the top of your screen (or in the API response):
Why is deletion protection important?
As we saw at the start of this blog, even the most carefully-controlled environments have accidental deletions. Despite engineers’ best efforts, there are many ways an ELB can be unintentionally deleted.
For example, engineers commonly clean up old, unused resources in cloud environments to save on costs. Even in a moderately-sized deployment, you will likely have dozens, if not hundreds, of ELBs in use. The odds of accidentally cleaning up a critical ELB are high, particularly if the ELB gets relatively little traffic or hasn’t been modified in a while. Even automated environments aren’t immune to this. If your team uses Cloud Formation or Terraform templates, a single typo or deleted line could remove your ELB from the template. Unless you catch this beforehand, the ELB will be deleted when the template is applied.
How do I enable deletion protection?
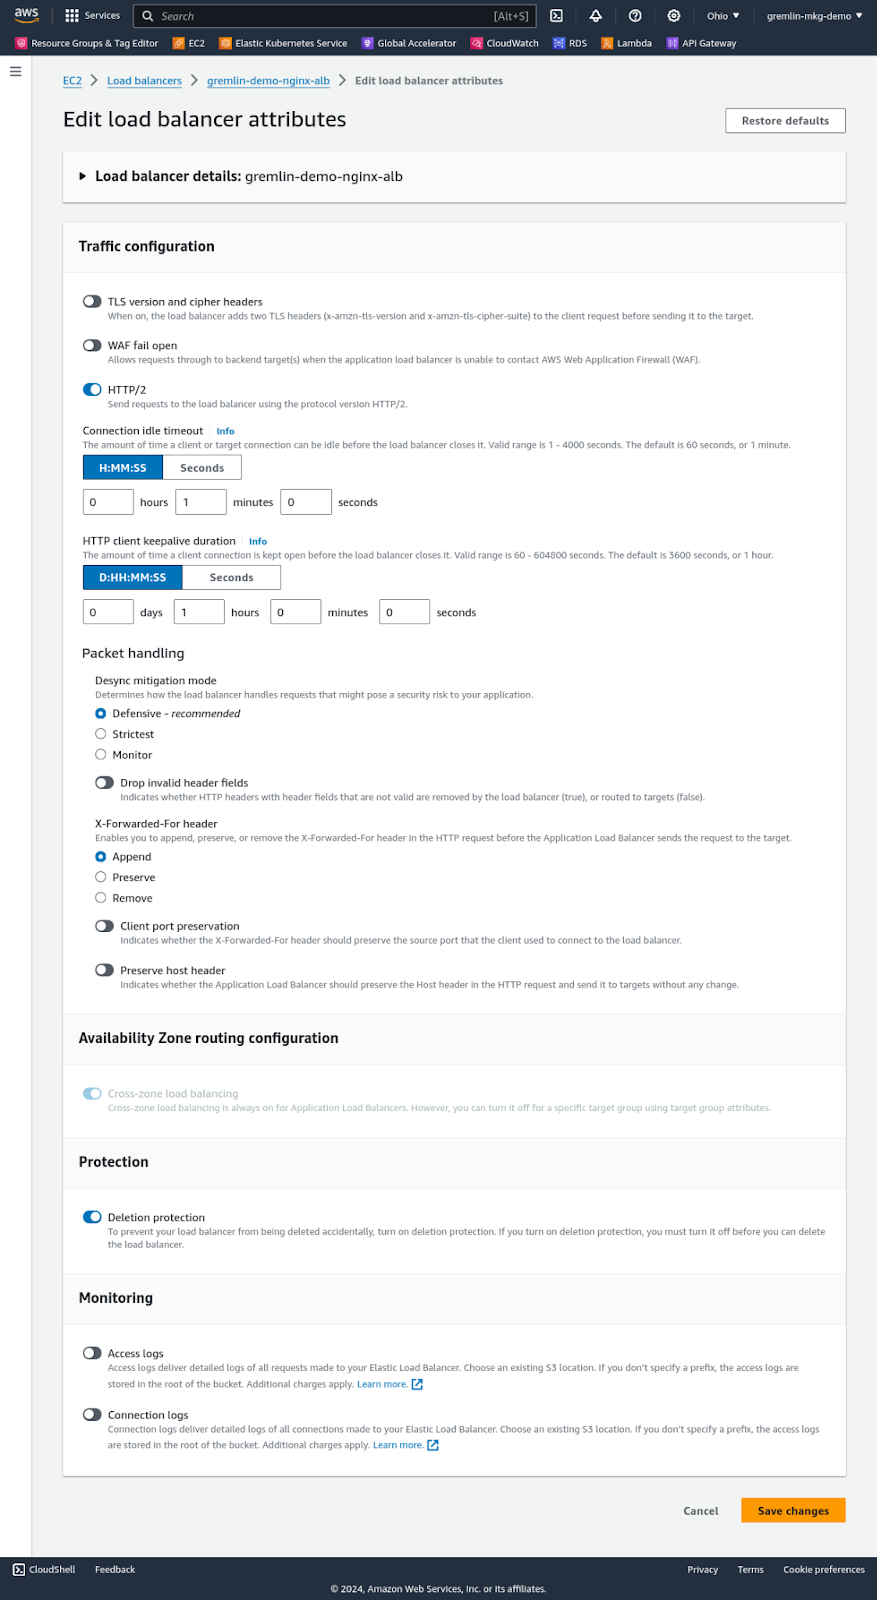
Enabling deletion protection is as easy as navigating to the ELB in the AWS Console, editing its attributes, toggling the “Deletion protection” attribute, and clicking “Save.” The change takes effect immediately. You can confirm this by trying to delete the load balancer. AWS will prompt you to confirm that you want to delete it, but instead of completing the deletion, it displays the error message shown above.
How do I verify that my ELBs are protected against deletion?
As you deploy services and ELBs, you’ll also want to enable the protection attribute for those ELBs. But how can you ensure that all ELBs have this flag, even those deployed by other teams? And how do you find ELBs that aren’t yet protected?
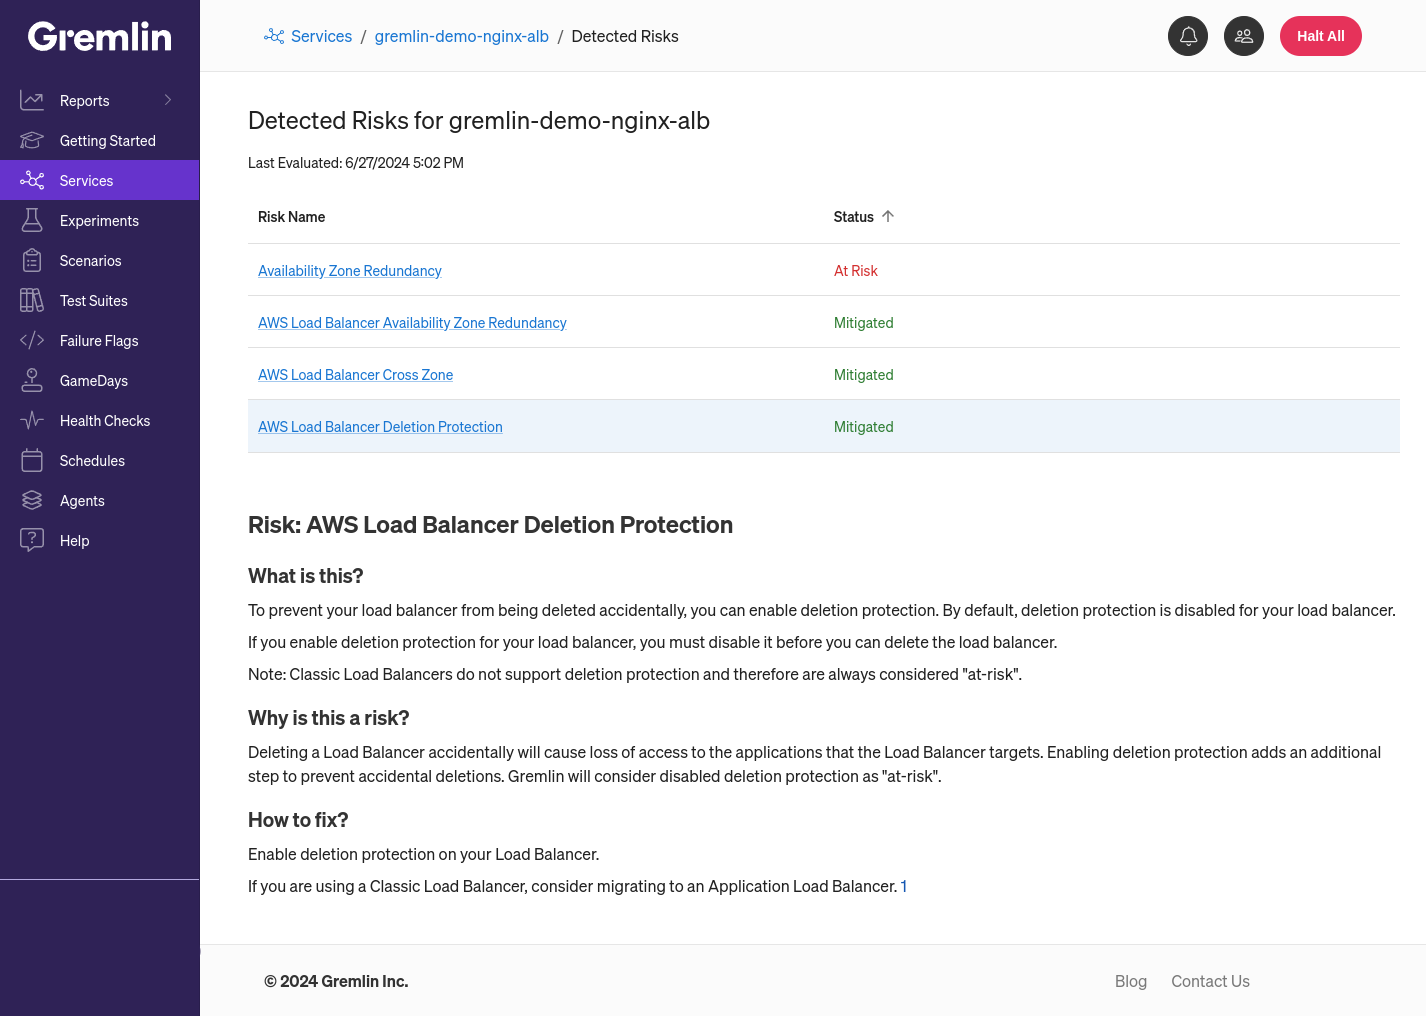
These questions led us to develop a new Detected Risk that checks specifically for unprotected ELBs. Detected Risks are reliability issues that Gremlin automatically detects in an environment by scanning its configuration. By integrating with AWS, Gremlin can detect several misconfigurations in an AWS environment, including whether your ELBs are multi-zone redundant, whether they’re load balancing across zones, and whether they’re protected from deletion.
So, how does it work? After you’ve authenticated Gremlin with AWS, Gremlin automatically detects your ELBs. You can then select which ELB(s) you want to add to Gremlin as a service. The assumption is that each ELB maps to a separate service in your environment: for instance, one ELB might point to your main web server, another to a Kubernetes service, etc. When you define a service in Gremlin, Gremlin uses what it knows about the service to determine which Detected Risks are relevant for that service, and whether those risks are present in the service. This means that your web server may only be evaluated against AWS-specific risks, while your Kubernetes service will be evaluated against both AWS and Kubernetes-specific risks.
Once you’ve added your AWS service, check back in a few seconds, and you’ll see the number of risks on the service’s overview page. If you click into this number, you’ll see each risk listed along with its status (whether it’s “At Risk” or “Mitigated”).
If you don’t yet have a Gremlin account, you can sign up for a free 30-day trial. Or if you’d like to learn more about Gremlin’s comprehensive AWS integration, check out our announcement blog.
Gremlin's automated reliability platform empowers you to find and fix availability risks before they impact your users. Start finding hidden risks in your systems with a free 30 day trial.
sTART YOUR TRIALTo learn more about how to proactively scan and test for AWS reliability risks and automate reliability management, download a copy of our comprehensive guide.
Get the AWS PrimerIntroducing Gremlin for AWS
Gremlin is introducing Gremlin for AWS, a suite of tools to more easily find and fix the reliability risks that cause downtime on AWS. Gremlin for AWS enables engineering teams on AWS to prevent incidents, monitor and test systems for known causes of failure, and gain visibility into the reliability posture of their applications.


Gremlin is introducing Gremlin for AWS, a suite of tools to more easily find and fix the reliability risks that cause downtime on AWS. Gremlin for AWS enables engineering teams on AWS to prevent incidents, monitor and test systems for known causes of failure, and gain visibility into the reliability posture of their applications.
Read moreResiliency is different on AWS: Here’s how to manage it
Learn about the reliability risks you can still run into when deploying to AWS, and how to avoid them.


Learn about the reliability risks you can still run into when deploying to AWS, and how to avoid them.
Read more